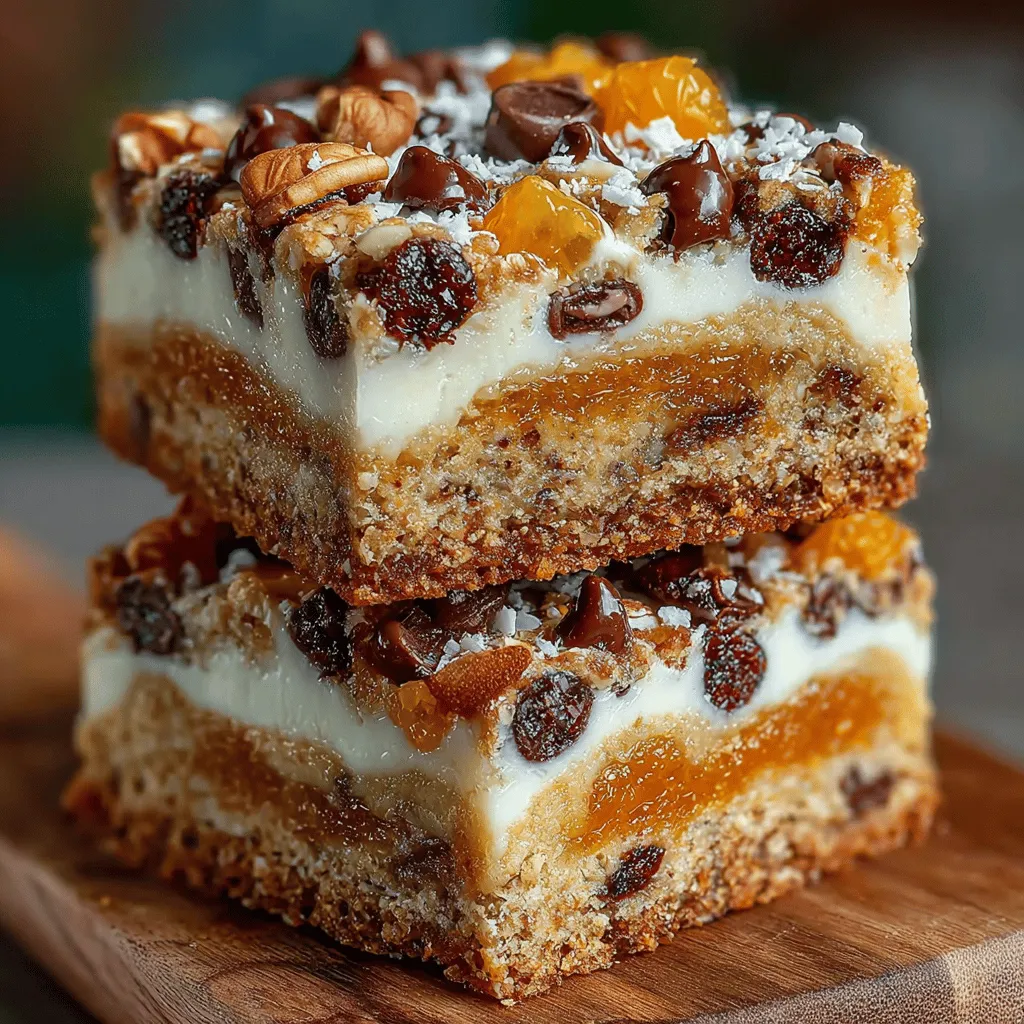
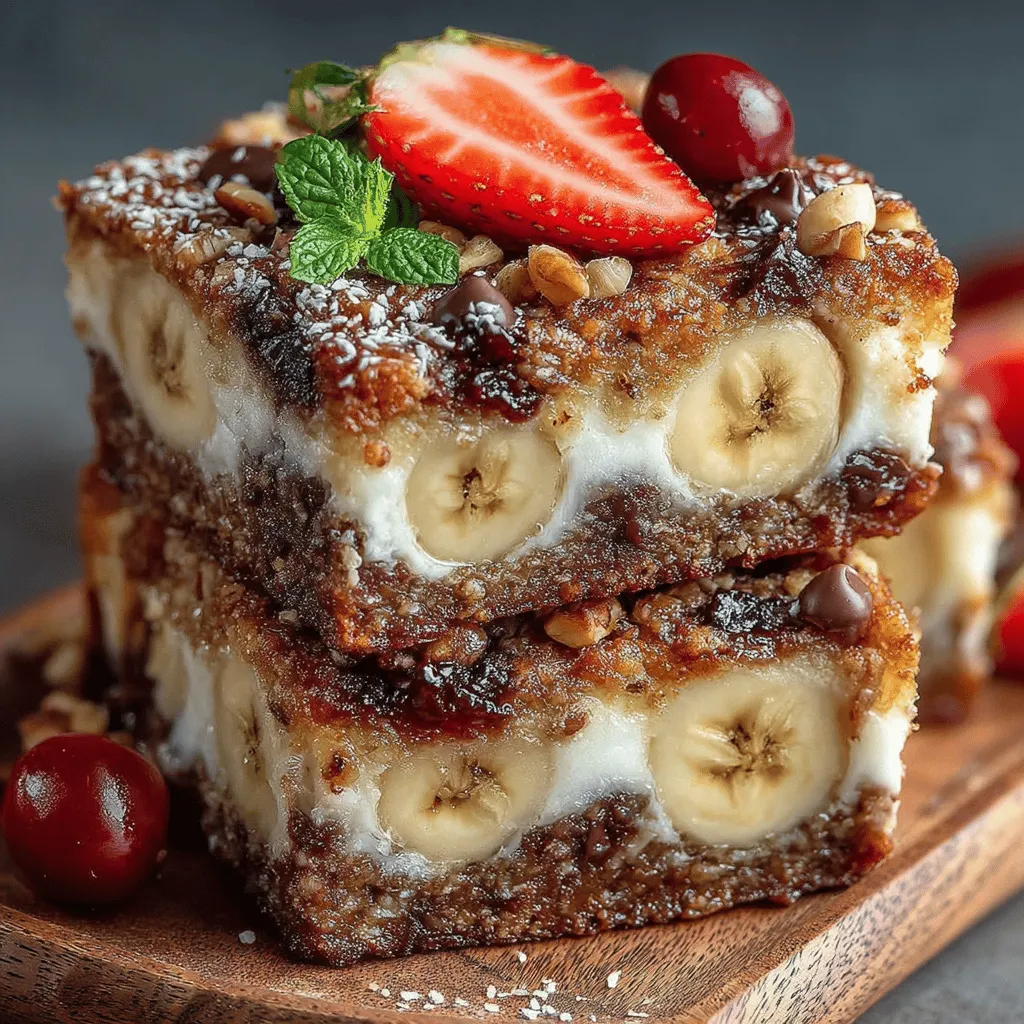
Creamy Banana Oat Bliss Bars: A Deliciously Nutritious Treat
If you’re on the lookout for a snack that strikes the perfect balance between indulgence and nutrition, look no further than Creamy Banana Oat Bliss Bars. These delightful bars offer a rich, satisfying flavor while packing a punch of health benefits, making them an ideal choice for breakfast on the go or an afternoon pick-me-up. With their creamy texture and wholesome ingredients, they are bound to become a staple in your kitchen.
The appeal of Creamy Banana Oat Bliss Bars lies not only in their taste but also in their versatility. Whether you prefer them as a quick breakfast option, a mid-day snack, or even a post-workout treat, these bars can seamlessly fit into any part of your day. The combination of ripe bananas, hearty oats, and protein-rich Greek yogurt creates a deliciously moist base that will keep you feeling full and energized. Plus, the added nuts and dark chocolate chips provide a satisfying crunch and a hint of sweetness that elevates these bars from ordinary to extraordinary.
Understanding the Ingredients
To appreciate the full potential of Creamy Banana Oat Bliss Bars, it’s essential to understand the nutritional powerhouse behind each ingredient:
– Ripe Bananas: At the heart of this recipe, ripe bananas not only provide natural sweetness but are also an excellent source of potassium, a vital mineral that supports heart health and regulates blood pressure. Their natural sugars help to enhance the flavor of the bars while keeping them moist.
– Greek Yogurt: This ingredient is a game changer, bringing both creaminess and a substantial protein boost. Greek yogurt is thicker than regular yogurt, which contributes to the bars’ rich texture while also offering probiotics that promote digestive health.
– Rolled Oats: As a staple in many healthy recipes, rolled oats are packed with fiber, which aids in digestion and helps maintain healthy cholesterol levels. They serve as the base of the bars, providing a hearty texture that complements the creamy ingredients.
– Honey or Maple Syrup: Both of these natural sweeteners add a touch of sweetness without the refined sugars found in many processed snacks. Honey offers a unique flavor profile, while maple syrup provides a rich, caramel-like taste. Depending on your preference, you can choose one over the other, or even a combination of both.
– Nuts: Incorporating nuts not only adds a delightful crunch but also increases the healthy fat content of the bars. Nuts are a great source of protein, fiber, and essential nutrients, making your snack even more satisfying.
– Dark Chocolate Chips: While optional, dark chocolate chips can bring a sense of indulgence to your bars. They are rich in antioxidants and can satisfy your sweet tooth without overwhelming the dish with sugar.
Step-by-Step Guide to Making Creamy Banana Oat Bliss Bars
Before diving into the recipe, let’s go over some essential preparation steps to ensure your Creamy Banana Oat Bliss Bars turn out perfectly.
Preparation Phase
The first step in creating these bliss bars is to gather all your ingredients and tools. Using parchment paper in your baking dish is highly recommended. This simple trick makes it easier to remove the bars once they are baked, ensuring they retain their shape and texture. When selecting a baking dish, a square 8×8 inch or 9×9 inch dish works well, but you can adjust based on how thick you want your bars to be.
Mixing the Wet Ingredients
Start by mashing the ripe bananas in a large mixing bowl. Aim for a smooth consistency, as this will help achieve the desired texture of the bars. Once you have a smooth banana base, mix in the Greek yogurt. The key here is to combine them well, creating a creamy mixture that will serve as the foundation for your bars. If you want to experiment with flavors, consider using flavored Greek yogurt, such as vanilla or honey, to enhance the overall taste profile.
Combining the Dry Ingredients
In a separate bowl, measure out your rolled oats and any additional dry ingredients you wish to include. This is a great time to add a pinch of salt, which will enhance the flavors of the bars, and a sprinkle of cinnamon for warmth. If you’re feeling adventurous, consider incorporating other spices like nutmeg or even a scoop of protein powder for an extra nutritional boost.
Merging Wet and Dry Mixtures
Once both mixtures are prepared, it’s time to combine them. Gently fold the wet ingredients into the dry ingredients using a spatula. This folding method is crucial as it helps maintain the texture of the oats and prevents overmixing, which can lead to denser bars. The goal is to achieve a cohesive batter without losing the lightness that makes these bars so appealing.
Following these steps will set you on the path to creating deliciously creamy and satisfying Banana Oat Bliss Bars. As you progress through the recipe, you’ll notice how simple, wholesome ingredients come together to create a snack that is not only nutritious but also incredibly enjoyable. Stay tuned for the next part, where we’ll delve into the baking process and how to customize your bars to suit your taste preferences.

Creating your own snacks at home can be not only rewarding but also healthier than store-bought options. The Creamy Banana Oat Bliss Bars are a perfect example of a nutritious treat that combines wholesome ingredients with delightful flavors, making them a fantastic option for breakfast, a midday snack, or even dessert. In this section, we’ll delve into the detailed steps for completing this recipe, tips for customization, and ways to serve these delicious bars.
Visual Cues for Knowing When the Mixture is Well Combined
When mixing the ingredients for your Creamy Banana Oat Bliss Bars, it’s essential to recognize the visual cues that indicate you’ve achieved the perfect consistency. The mixture should become thick and creamy, with oats fully incorporated. You’ll notice that the banana will break down, creating a cohesive blend. Look for a uniform color without streaks of dry oats or lumps of banana. If you’re using a mixer, stop occasionally to scrape down the sides to ensure all ingredients are combined evenly.
Incorporating Nuts and Chocolate
Adding nuts and chocolate to your mixture enhances both flavor and texture. Popular choices like walnuts, almonds, or pecans add a delightful crunch and nutritional benefits. For chocolate, you can choose between dark or milk chocolate chips, depending on your preference. Dark chocolate offers a richer flavor and contains less sugar, while milk chocolate provides a sweeter taste.
Suggestions for Nut Alternatives and the Choice of Chocolate
If you’re looking for nut alternatives due to allergies or personal preferences, consider using seeds such as sunflower seeds or pumpkin seeds. These options will maintain the crunchy texture while being nut-free. Additionally, for chocolate, consider using carob chips as a caffeine-free alternative to chocolate.
Tips for Achieving an Even Distribution Without Breaking Chocolate Chips
To ensure an even distribution of nuts and chocolate without breaking the chocolate chips, gently fold them into the banana-oat mixture using a spatula. Be careful not to over-mix, as this can cause the chips to break apart. The goal is to have a balanced mix where every bar contains both nuts and chocolate.
Transferring the Mixture to the Baking Dish
Once your mixture is well combined, it’s time to transfer it to the baking dish. You will want to use a parchment-lined dish for easy removal after baking.
Techniques for Compacting the Mixture to Ensure Sturdy Bars
Using a spatula or your hands, press the mixture firmly into the baking dish. The key here is to compact it well; this will enable the bars to hold their shape once cut. If you find the mixture is sticky, dampen your hands slightly with water or oil to make the process easier.
Importance of Spreading Evenly for Uniform Freezing
Ensure that the mixture is spread evenly across the dish. This step is crucial for uniform freezing, as uneven thickness can lead to some parts freezing faster than others, resulting in inconsistent textures. A flat, even surface will yield bars that are both visually appealing and easier to cut.
Freezing Process
Freezing your bars not only preserves their freshness but also enhances their texture and flavor. The cold helps to solidify the mixture, making it easier to cut and chew.
Explanation of How Freezing Affects Texture and Flavor
The freezing process allows the flavors to meld together beautifully. The bananas will become firmer, while the oats will maintain their chewiness, creating a satisfying texture with each bite. Additionally, freezing helps to intensify the sweetness of the bananas, providing a natural sweetness without added sugars.
Recommended Duration for Optimal Results
For optimal results, freeze the mixture for at least 2-3 hours or until it is solid. If you plan to store the bars for an extended period, consider leaving them in the freezer overnight. This will ensure they are thoroughly frozen and easier to cut into bars.
Cutting and Serving Suggestions
Once the bars are fully frozen, it’s time to cut and serve them.
Best Practices for Cutting Frozen Bars
To cut your frozen bars, remove them from the baking dish using the parchment paper as a handle. Use a sharp knife or a pizza cutter to slice through the bars easily. If the mixture seems too hard to cut, let it sit at room temperature for a few minutes to soften slightly. This will make cutting easier while still retaining their form.
Creative Serving Ideas, Including Topping Options with Fresh Fruit
These bars can be enjoyed on their own or dressed up for a more decadent treat. Consider serving them with a dollop of Greek yogurt or drizzling some nut butter on top. Fresh fruit like sliced strawberries, blueberries, or bananas can add a refreshing touch and additional nutrients. For a bit of crunch, sprinkle toasted coconut flakes or granola on top before serving.
Nutritional Information
Understanding the nutritional value of your homemade Creamy Banana Oat Bliss Bars can help you appreciate their health benefits.
Breakdown of Nutritional Values per Serving
Each bar generally contains approximately:
– Calories: 150
– Protein: 4g
– Carbohydrates: 25g
– Dietary Fiber: 3g
– Sugars: 6g
– Fats: 5g
These values can vary slightly based on the specific ingredients used, especially if you incorporate additional nuts or chocolate.
Comparison of Bars to Store-Bought Snacks in Terms of Health Benefits
When comparing these homemade bars to typical store-bought snacks, the benefits are clear. Store-bought options often contain preservatives, artificial flavors, and added sugars, while these bars are made with whole ingredients that you can feel good about. They’re free from unnecessary additives, and you have control over the sweetness and flavor profile.
Creative Variations and Customizations
One of the best aspects of the Creamy Banana Oat Bliss Bars is their versatility. Here are a few ideas for customizing your bars according to your taste preferences:
Suggestions for Flavor Combinations
– Coconut Bliss: Add shredded coconut for a tropical twist.
– Fruit Medley: Mix in dried fruits like cranberries, apricots, or raisins for added sweetness.
– Spice It Up: Incorporate a teaspoon of cinnamon or nutmeg for a warming flavor.
Suggestions for Dietary Adjustments
For those with dietary restrictions, these bars can easily be adapted:
– Vegan: Ensure that the chocolate is dairy-free and replace any honey with maple syrup.
– Gluten-Free: Use certified gluten-free oats to make the recipe suitable for those with gluten intolerance.
Storage and Shelf Life
To maximize the freshness and flavor of your Creamy Banana Oat Bliss Bars, proper storage is essential.
Best Practices for Storing the Bars to Maintain Freshness
Once cut, store the bars in an airtight container or wrap them individually in plastic wrap. This prevents freezer burn and keeps them fresh for longer.
Discussion of How Long They Can Be Stored in the Freezer
When stored properly, these bars can last in the freezer for up to three months. However, for the best taste and texture, try to consume them within the first month.
Conclusion
Making Creamy Banana Oat Bliss Bars at home provides numerous benefits, from controlling the ingredients to enjoying the delightful flavors that can be tailored to your liking. With their nutritious profile and easy preparation, these bars not only satisfy your sweet tooth but also nourish your body.
Feel free to customize this recipe to suit your preferences and dietary needs. Whether you choose to add nuts, chocolate, or even fruits, the possibilities are endless. Embrace the joy of preparing healthy snacks that are both delicious and nutritious, and enjoy the satisfaction of having a homemade treat at hand whenever cravings strike!
Frozen Yogurt Banana Oat Bars

Looking for a tasty snack that’s both indulgent and nutritious? Try Creamy Banana Oat Bliss Bars! These delightful bars combine ripe bananas, hearty oats, and creamy Greek yogurt for a satisfying treat perfect for breakfast or a midday boost. Enhanced with nuts and optional dark chocolate, they pack a healthy punch while being incredibly easy to make. Discover the joy of homemade snacks that cater to your taste and health preferences. Enjoy a wholesome treat that keeps you full and energized!


