Introduction
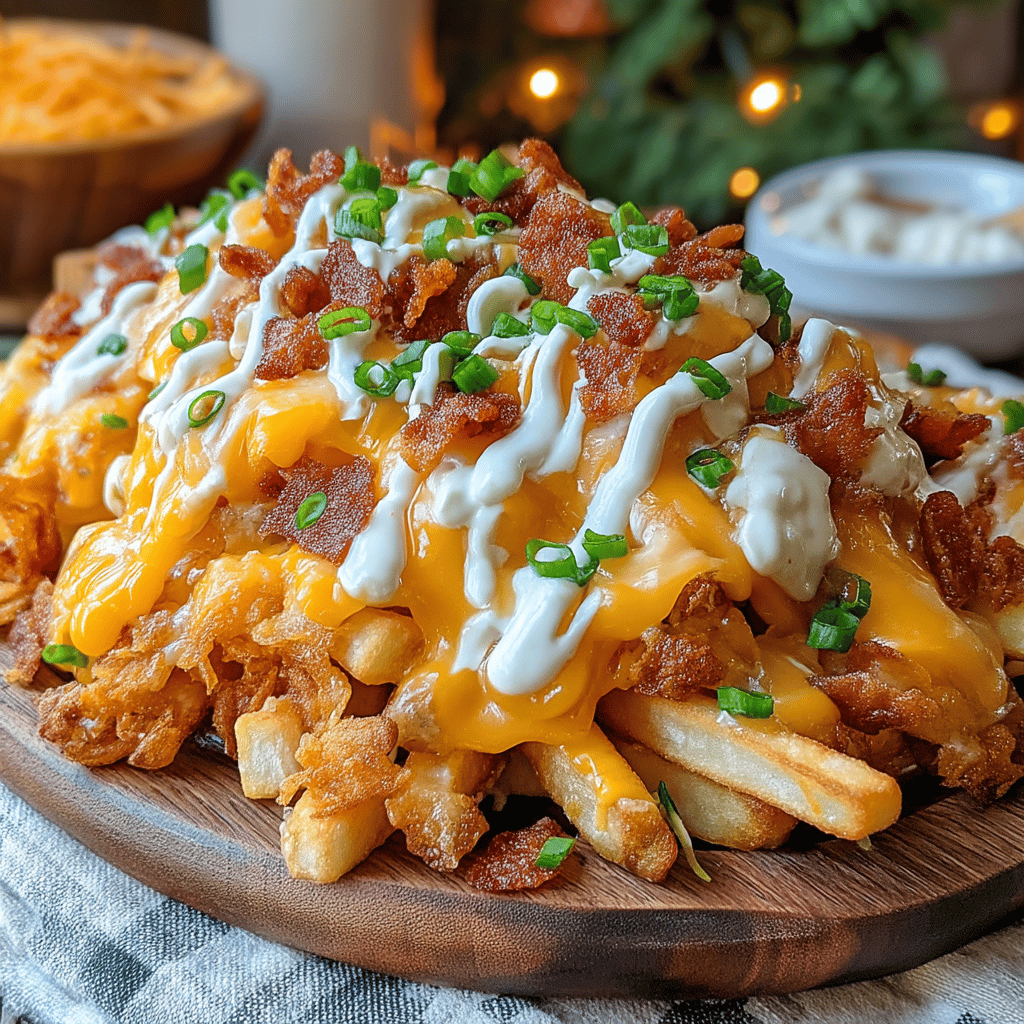
Nothing says game day quite like a plate of sizzling, loaded fries! These Game Day Loaded Garlic Fries with Cheesy Bacon are the ultimate crowd-pleaser, combining the irresistible flavors of garlic, savory bacon, and gooey cheese—all piled high on crispy fries. Perfect for munching on during your favorite sports event, movie night, or any occasion that calls for indulgent comfort food, these fries are guaranteed to score big with your friends and family.
Imagine the aroma of garlic wafting through the air as you prepare this delicious snack. The savory, buttery goodness of the garlic fries lays the perfect foundation for your toppings, while crispy bacon bits add a delightful crunch. Of course, we can’t forget about the melted cheese that ties it all together, creating an indulgent masterpiece that you’ll want to make time and time again.
Join me as we dive into the steps to create these mouthwatering Game Day Loaded Garlic Fries, and get ready to impress your guests with a dish that’s as fun to make as it is to eat! Let’s grab our aprons and get started!
Ingredients
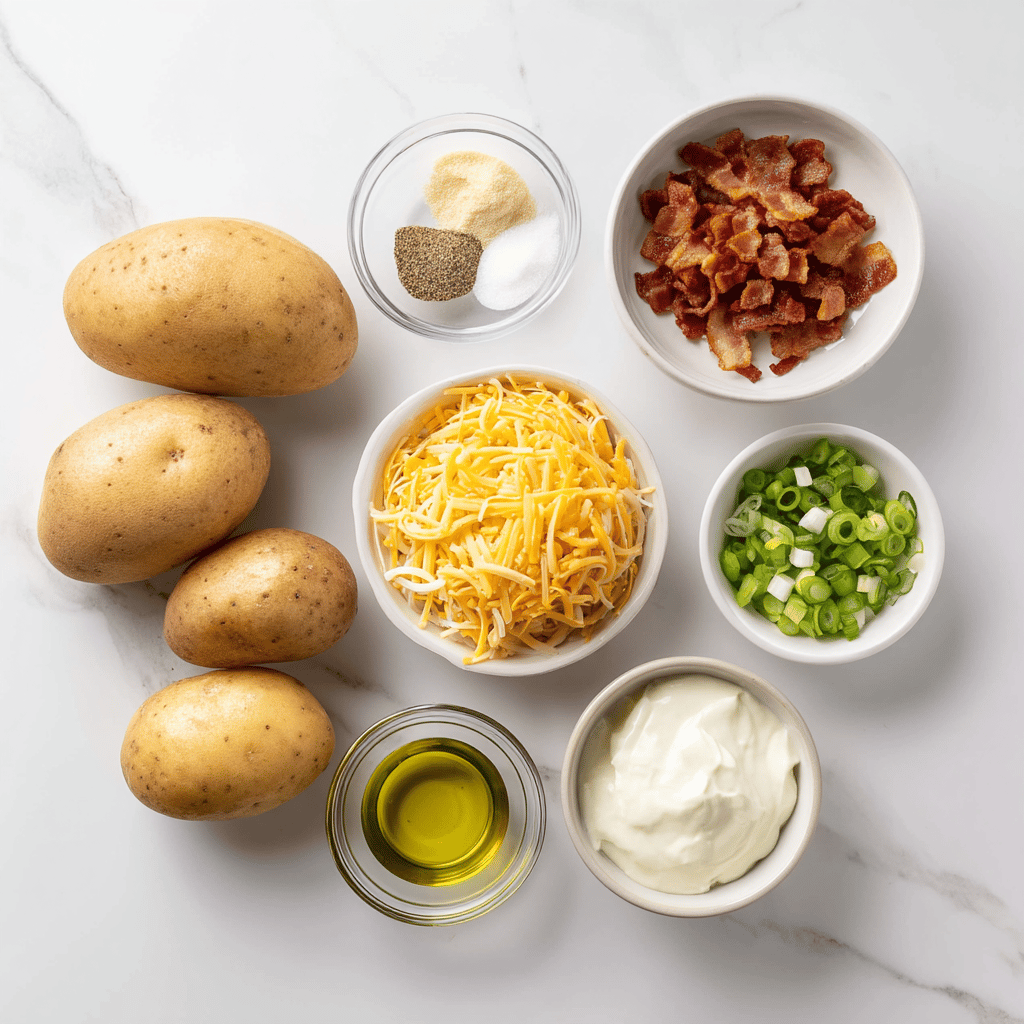
- 4 large russet potatoes
- 1/4 cup olive oil
- 4 cloves garlic, minced
- 1 tsp garlic powder
- 1 tsp salt
- 1/2 tsp black pepper
- 1 cup shredded cheddar cheese
- 1 cup crispy cooked bacon, chopped
- 1/4 cup green onions, sliced
- 1/3 cup sour cream
- 1/4 cup ranch dressing
- Optional: fresh parsley for garnish
Instructions
-
- Preheat your oven to 425°F (220°C).
-
- Wash the potatoes thoroughly and cut them into thin fries, about 1/4 inch thick.
-
- In a large mixing bowl, toss the cut fries with olive oil, minced garlic, garlic powder, salt, and black pepper until evenly coated.
-
- Spread the seasoned fries in a single layer on a large baking sheet. Bake for 25-30 minutes, flipping halfway through, until golden brown and crispy.
-
- Once the fries are done, remove them from the oven and sprinkle shredded cheddar cheese evenly on top. Return to the oven for an additional 5 minutes, or until the cheese is melted and bubbly.
-
- Carefully take the loaded fries out of the oven and sprinkle the crispy bacon pieces and sliced green onions over the top.
-
- Drizzle the sour cream and ranch dressing over the fries or serve them on the side for dipping.
-
- Finish off with a sprinkle of fresh parsley if desired and serve hot, raving about your delicious creation!
- Prep Time: 15 min | Total Time: 50 min | Servings: 4
Key Ingredients
- Frozen French Fries: 1 bag (approximately 24 oz)
- Garlic: 4-5 cloves, minced
- Olive Oil: 2 tablespoons
- Fresh Parsley: 2 tablespoons, chopped (for garnish)
- Bacon: 6-8 slices, cooked and crumbled
- Cheddar Cheese: 2 cups, shredded (or a mix of cheddar and Monterey Jack)
- Cream Cheese: 4 oz, softened
- Green Onions: 2-3, sliced (for garnish)
- Salt and Pepper: to taste
- Parmesan Cheese: 1/2 cup, grated (optional)
- Paprika: 1 teaspoon (optional, for added flavor)
These key ingredients will give your Game Day Loaded Garlic Fries that delicious flavor and indulgent texture everyone will love!
Baking Process
Step 1: Prepare the Fries
- Choose Your Potatoes: Select high-starch potatoes like Russets for the best texture. Wash and peel them if desired.
- Cut the Potatoes: Slice the potatoes into evenly-sized fries, about 1/4 to 1/2 inch thick. This ensures they cook uniformly.
- Soak the Fries: To remove excess starch, soak the cut fries in cold water for at least 30 minutes. This step is key for achieving crispy fries.
Step 2: Preheat the Oven
- Set the Temperature: Preheat your oven to 425°F (220°C). A high temperature ensures the fries will get crispy and golden.
Step 3: Dry and Season
- Drain and Dry: After soaking, drain the fries and pat them thoroughly dry with a clean kitchen towel or paper towels. Removing moisture is critical for crispiness.
- Season the Fries: In a large bowl, toss the dried fries with olive oil, salt, pepper, and a pinch of garlic powder for an extra flavor kick.
Step 4: Bake the Fries
- Arrange on a Baking Sheet: Spread the seasoned fries in a single layer on a large baking sheet. Avoid overcrowding; use two sheets if necessary to give them space to crisp up.
- First Bake: Place the baking sheet in the preheated oven and bake for about 20-25 minutes, turning the fries halfway through. Keep an eye on them as cooking times may vary.
Step 5: Add Toppings
- Cheese and Bacon: While the fries are baking, cook your bacon until crispy, then crumble it. Once the fries are golden brown, remove them from the oven and sprinkle generously with shredded cheese (cheddar or a cheese blend works wonderfully), and the crumbled bacon.
- Final Bake: Return the loaded fries to the oven and bake for an additional 5-10 minutes, or until the cheese is melted and bubbly.
Step 6: Finishing Touches
- Prepare for Serving: When the cheese has melted, remove the fries from the oven and let them cool for a moment.
- Garnish: Sprinkle with freshly chopped parsley (or chives) and drizzle with garlic aioli or ranch dressing for added flavor.
Step 7: Serve and Enjoy
- Plate Your Fries: Transfer the loaded garlic fries to a serving platter or individual bowls for guests.
- Game Day Ready: Serve hot and enjoy these delicious Game Day Loaded Garlic Fries with Cheesy Bacon as the ultimate snack for your gathering!
Now that you’re ready with the perfectly baked fries, dive into the crispy, cheesy, and mouthwatering goodness!
Serving Suggestions
Game Day Loaded Garlic Fries with Cheesy Bacon are the ultimate crowd-pleaser, perfect for any gathering! To elevate your game day experience, consider the following serving suggestions:
-
Dipping Sauces: Offer a selection of flavorful dipping sauces alongside the fries. Try ranch dressing, spicy ketchup, garlic aioli, or a tangy barbecue sauce for everyone to enjoy.
-
Garnish: Enhance presentation and flavor by garnishing the fries with freshly chopped green onions or chives. A sprinkle of grated Parmesan cheese can also add an extra touch of richness.
-
Pair with Beer: These loaded fries pair wonderfully with a variety of beers. Consider serving them with a light lager, a hoppy IPA, or a crisp hard cider to complement the flavors.
-
Add Spice: For those who enjoy a kick, consider offering sliced jalapeños or a drizzle of spicy sriracha or buffalo sauce on the side for a zesty addition.
-
Side Salad: Balance the richness of the fries with a light, refreshing side salad. A simple mixed greens salad with a lemon vinaigrette pairs perfectly.
-
Perfect for Sharing: Serve the fries in a large platter or a foil-lined tray for a casual, shareable approach. This encourages guests to dig in and enjoy together!
-
Football Theme: If hosting a football-themed party, consider decorating the serving area with team colors or themed tableware to create an inviting game day atmosphere.
By incorporating these serving suggestions, your Game Day Loaded Garlic Fries will not only be a hit but will create a festive and enjoyable environment for all your guests! Enjoy the game and the delicious bites!
Conclusion
These Game Day Loaded Garlic Fries with Cheesy Bacon are the perfect addition to any celebration, whether it’s the big game or just a cozy night in. With their crispy, golden exterior and a mouthwatering combination of garlic, cheese, and savory bacon, they are sure to be a crowd-pleaser. The blend of flavors and textures creates a snack that’s not only delicious but also fun to share with friends and family. Plus, the recipe is simple enough to whip up in no time, making it an ideal choice for even the busiest of game days. So gather your crew, grab some napkins, and dig in—your taste buds will thank you! Enjoy the game, and don’t forget to save some for later!
Game Day Loaded Garlic Fries with Cheesy Bacon

Score big with Game Day Loaded Garlic Fries with Cheesy Bacon, the ultimate snack for your next gathering! These crispy fries are generously topped with savory garlic, crispy bacon, and gooey melted cheese, creating a mouthwatering treat everyone will love. Perfect for game days or cozy movie nights, this easy recipe is sure to impress your friends and family. Get ready to dive into a plateful of deliciousness that’s fun to make and even more fun to share!
